Dwarf II telescope
Introduction
When that long-awaited moment of facing a new telescope or instrument arrives, various feelings always come to mind, activating the analytical and critical mode to understand its capabilities and strengths. Knowing and dealing with its limitations also plays a leading role in this process in order to concentrate on the process of how to make this new instrument bear fruit in a reasonable amount of time and not discourage the attempt.
In the case of the Dwarf-II telescope by Dwarf Lab, this process is influenced by the fact that it is itself much more than just a telescope. In fact, its capabilities surpass any previous concept, offering in a single impressively compact and transportable device, a system that allows you to photograph landscapes, wildlife and practically any object that is within reach of your lenses. But the most impressive thing is that this device is in fact a telescope to photograph the Universe in the simplest and most minimalist way imaginable.
Thinking about having a control system at your fingertips, using a tablet or smartphone, that allows you to capture light from the most famous deep-sky objects in seconds is in itself a technological revolution in a compact package. . In fact, the name of the system is very well thought out, since it is effectively a dwarf system with the capabilities of a giant. Its versatility makes it unique and irresistibly attractive to anyone who wants to explore the Universe from the comfort of a smartphone or tablet, minimizing the configuration and calibration process.
The compact design and its simplicity of installation reminded me a lot of the classic Edmund Scientific Astroscan telescope. In that telescope that dates from the 70s, you simply set up the tripod and then put the spherical telescope on its base and that's it. You were already stargazing and enjoying the Universe. Well. the same concept of simplicity is found in the Dwarf-II, which is nice to say the least.
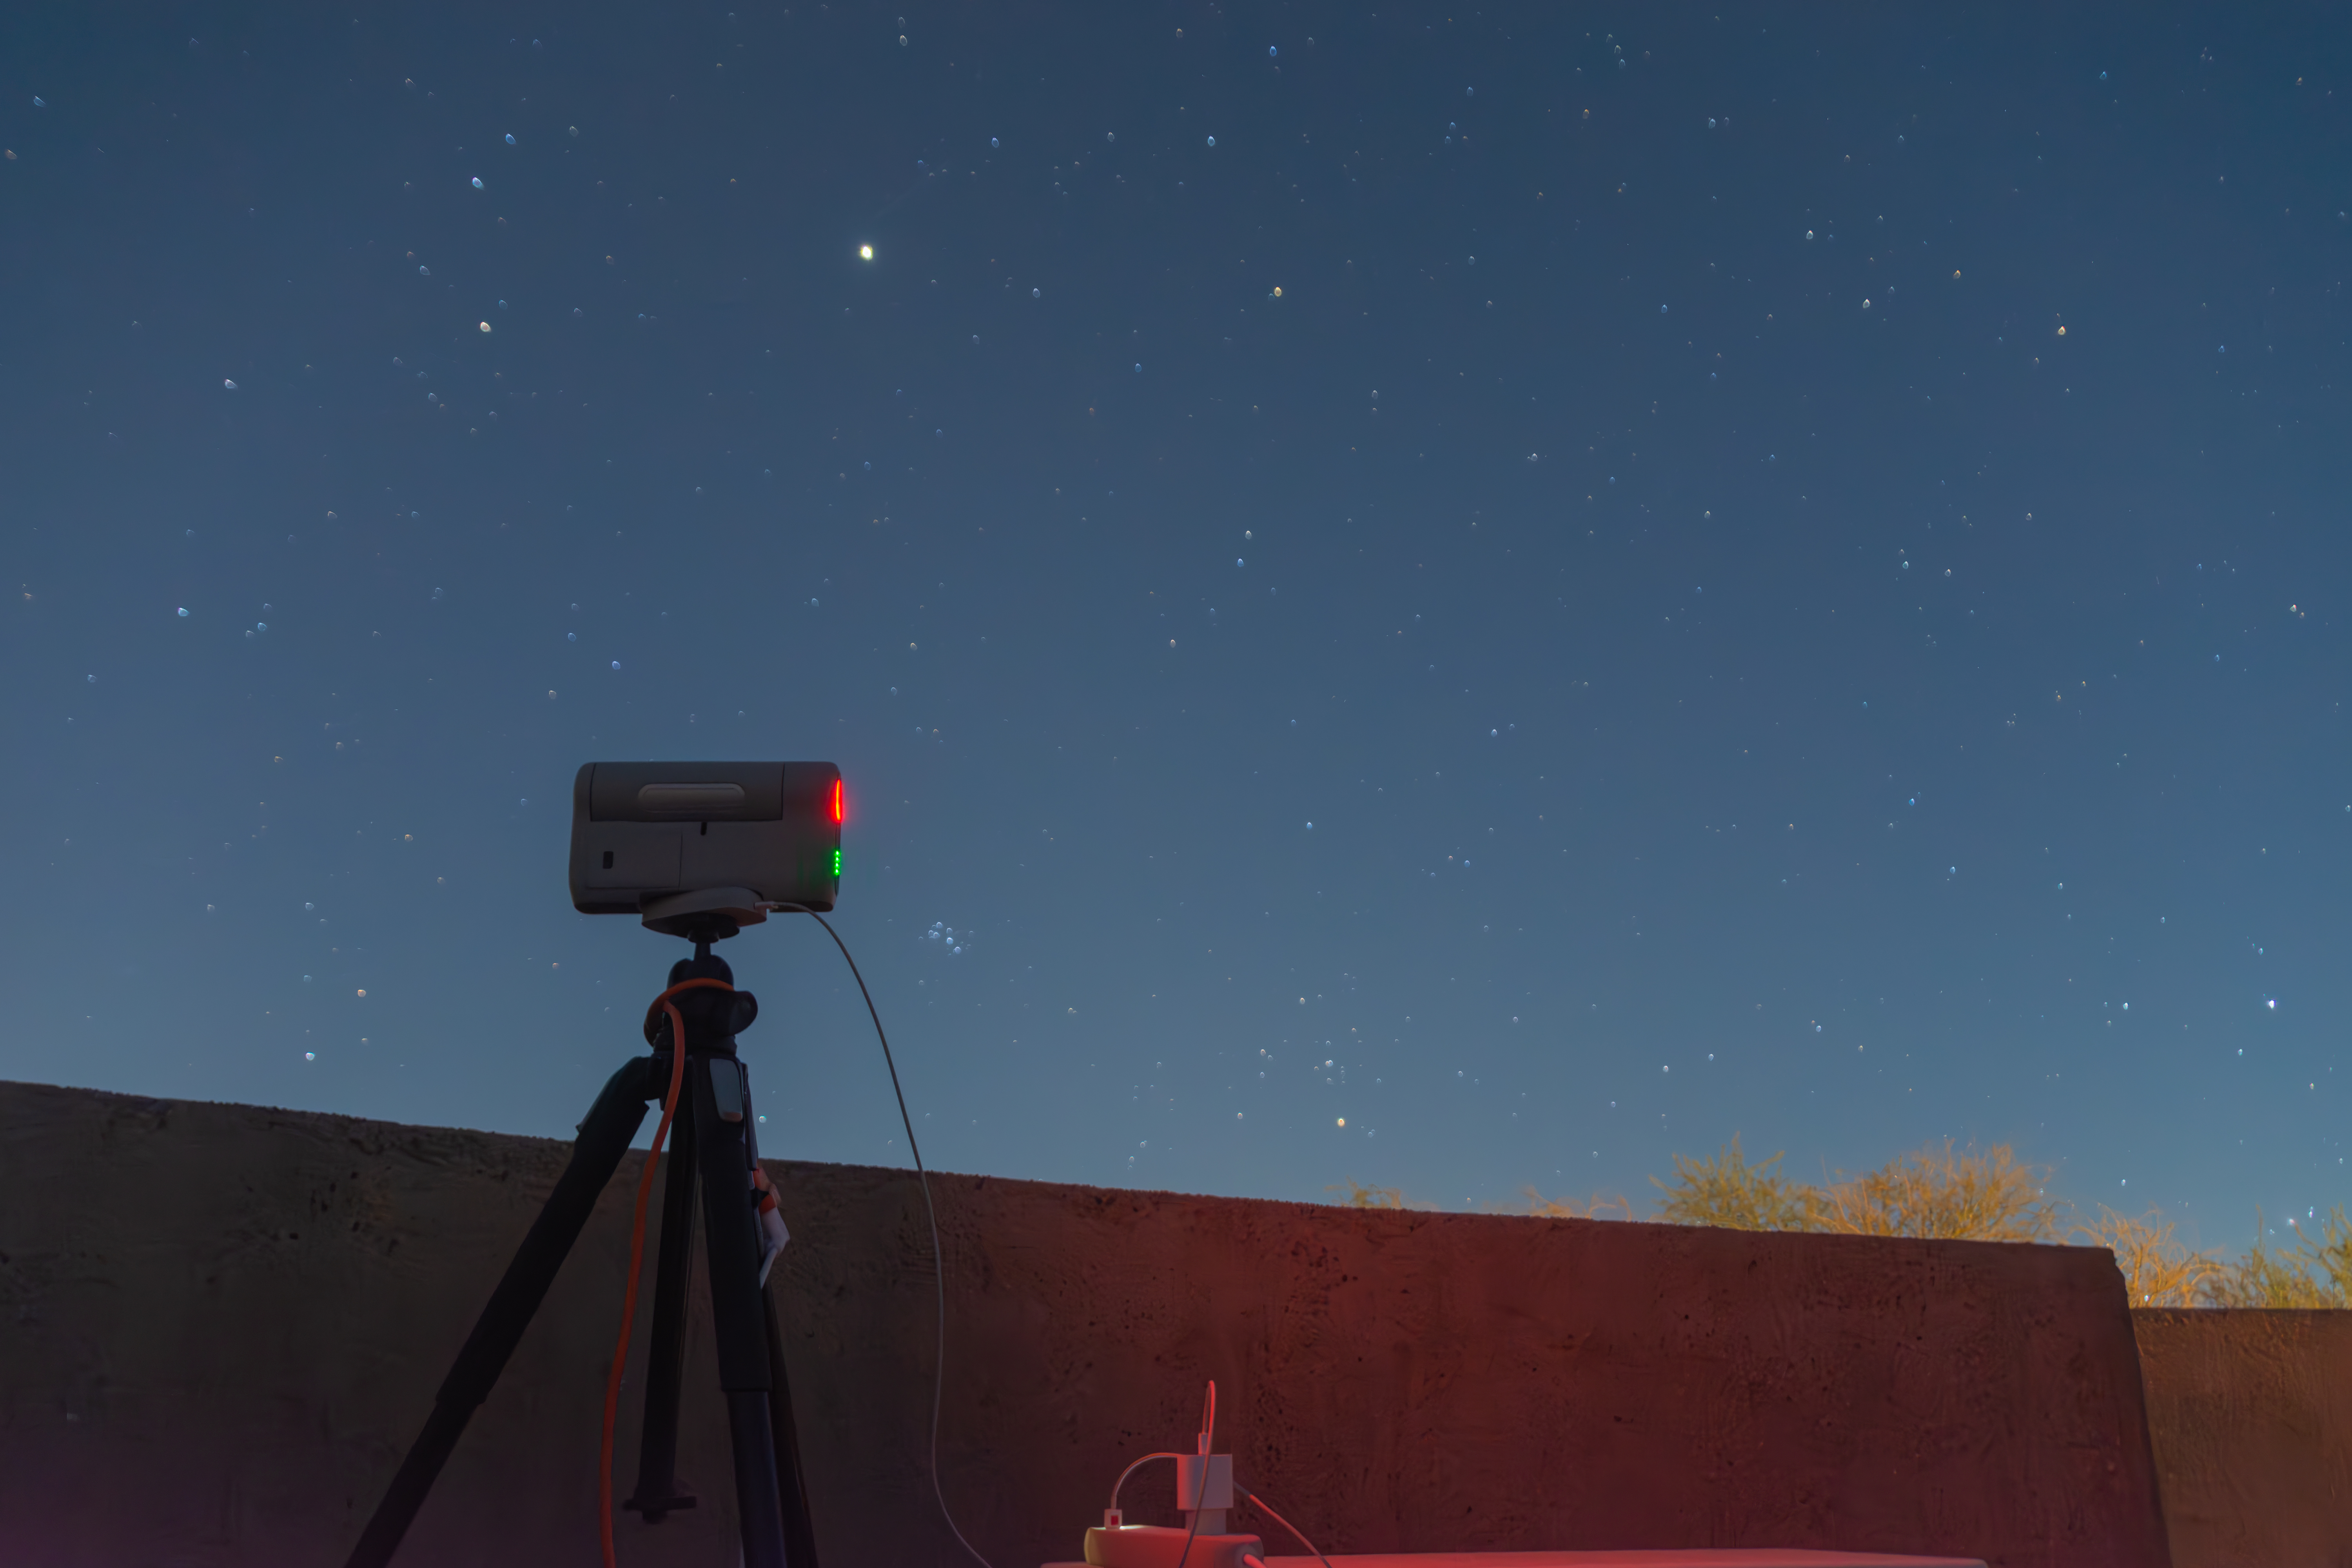
Even though the Dwarf-II comes with a small tripod to set it up on a flat and stable surface (i.e. table), it is my preference to use a more robust tripod in case, for example, there is a bit of wind.
Thanks to our friend Rodrigo Zelada, head of North Optics, we had the chance to borrow and use the Dwarf-II telescope at the Atacama desert during several nights on July 2023, when the weather was kind enough to us. In this page we present a simple test report based on our experience with this awesome piece that despite the “Dwarf” name, performs like a “Giant” in a dwarf package.
Initial setup
The initial setup requires very few and again simple steps
Battery installation:
The battery charge takes about an hour to charge to 100% and in theory you can watch up to 3 hours. In my case and because I have tested this telescope in the dead of winter from the Atacama desert and with very low temperatures, I have preferred to feed the power via the use of a USB-C cable connected to a portable charger.MicroSD Installation:
The telescope comes from the factory with a 64 GB MicroSD card. According to the manual, it holds up to 512 GBConnection:
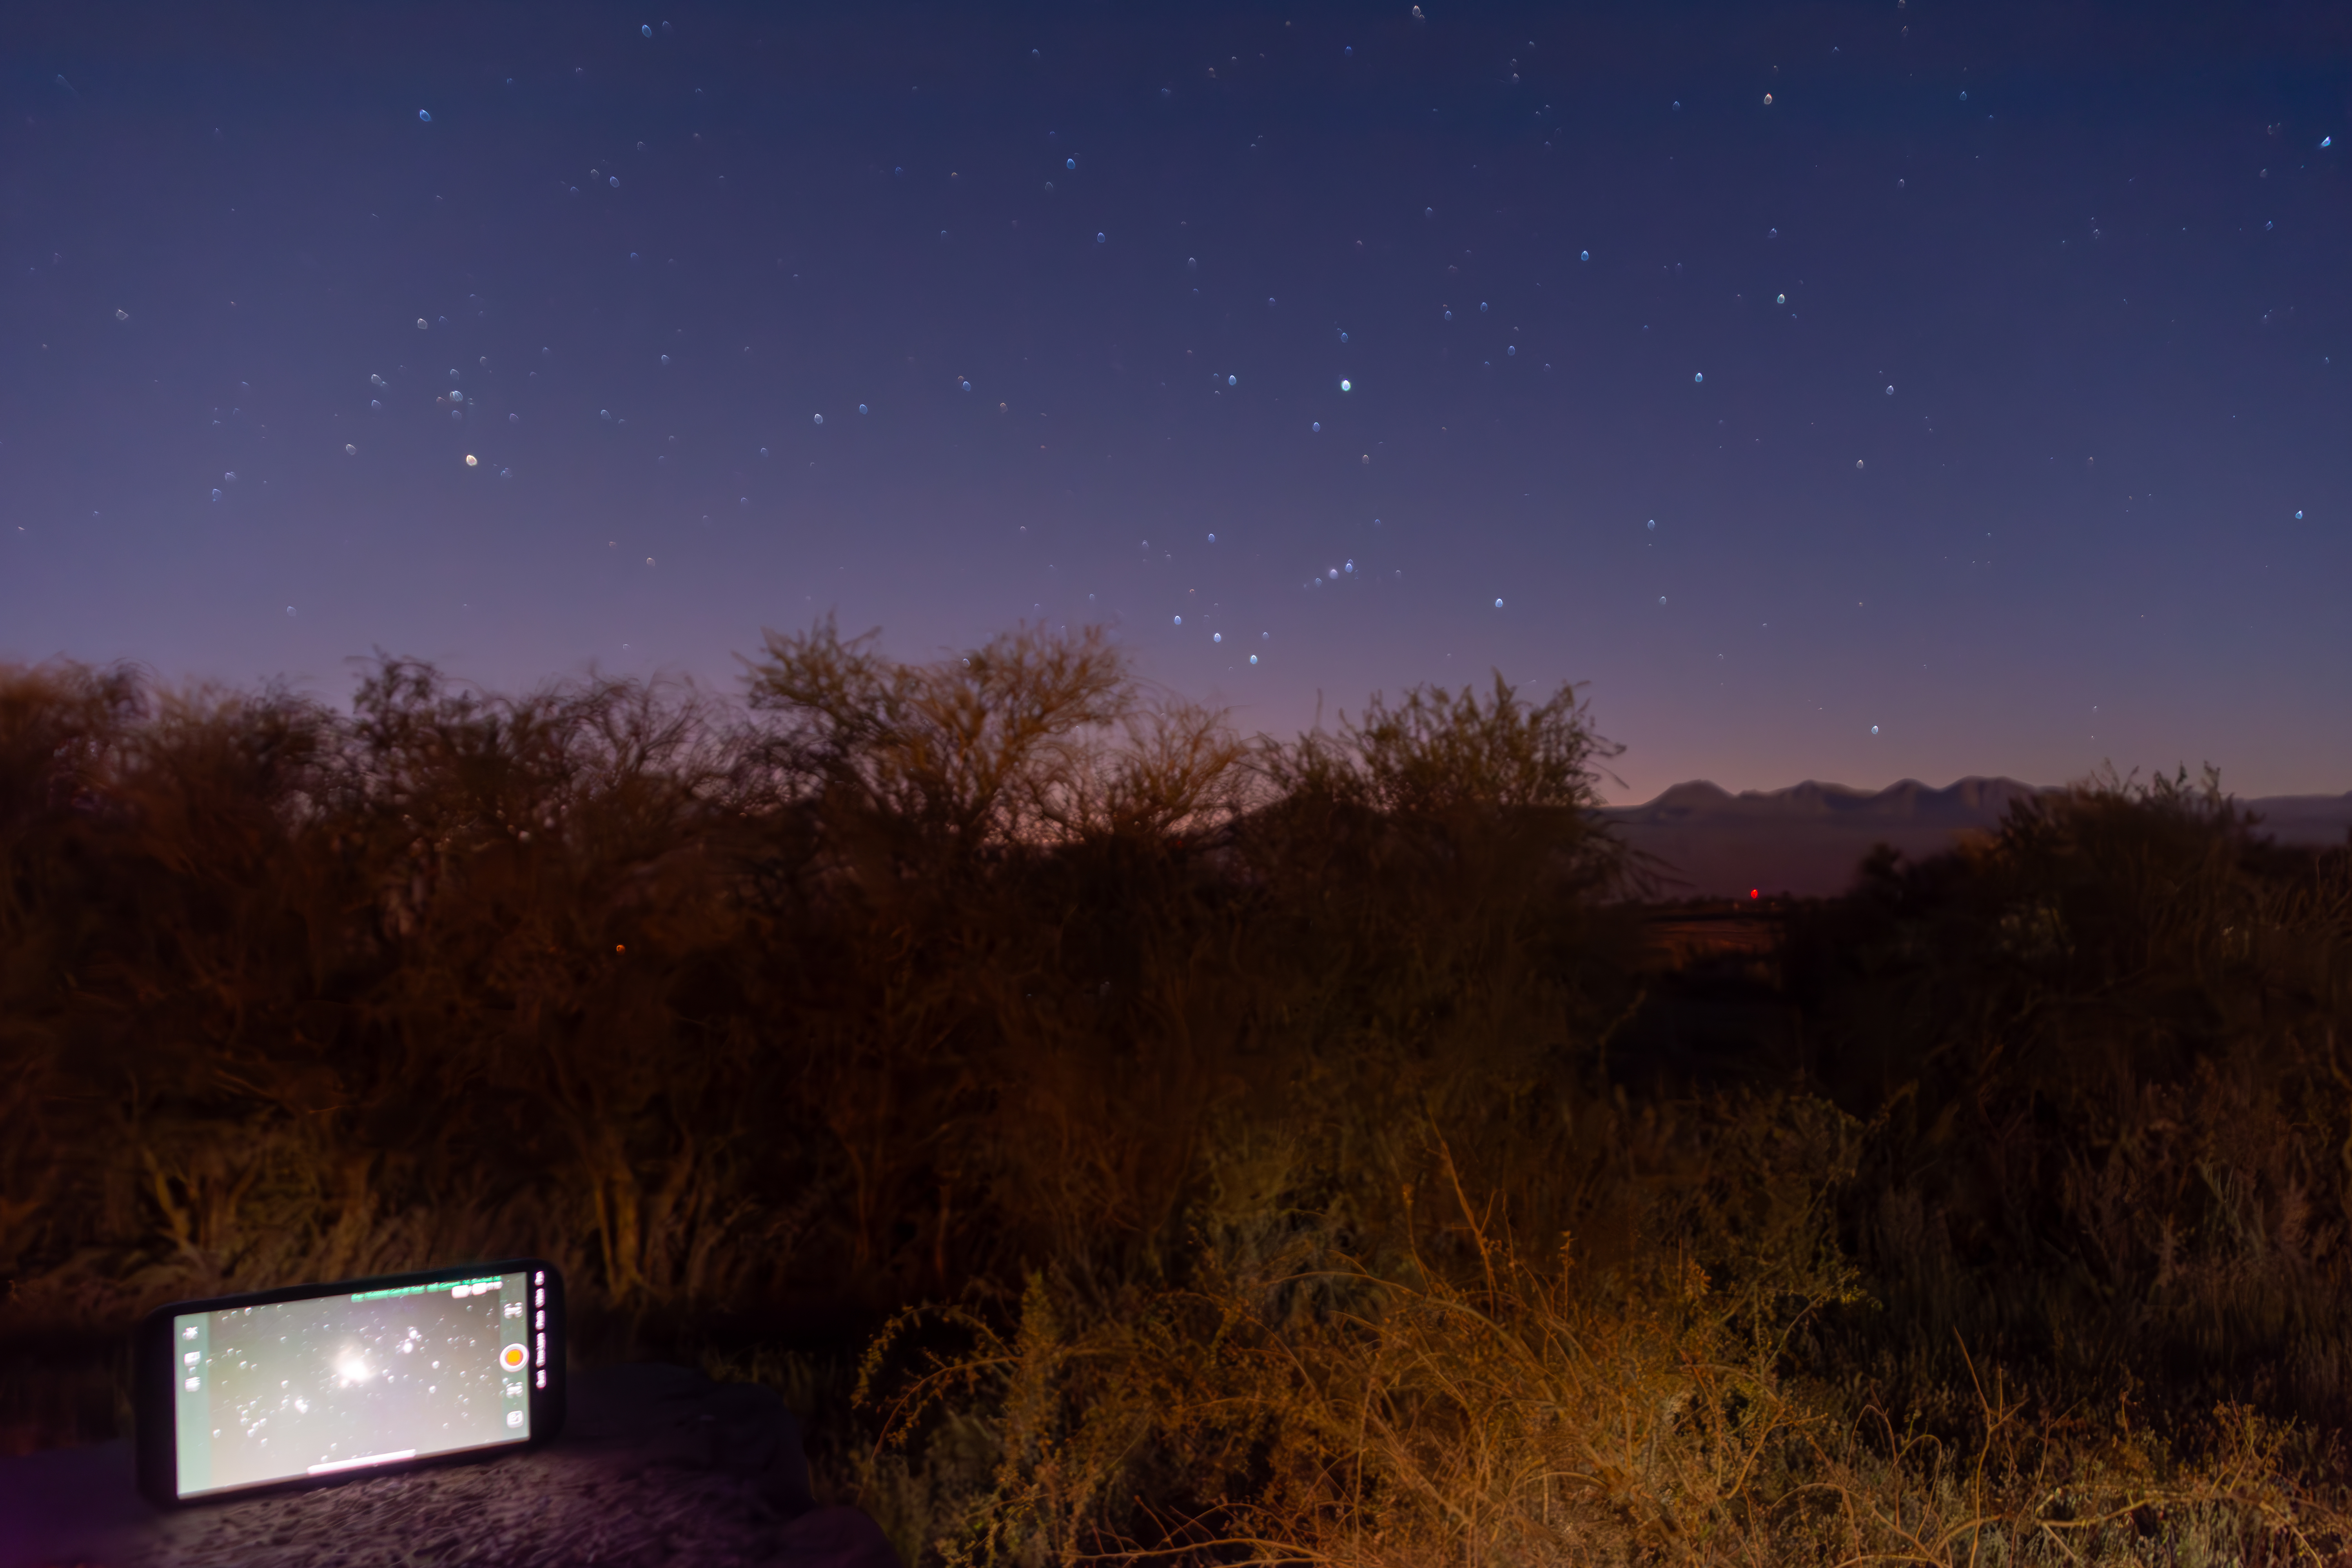
Dwarf-II can be easily connected via WiFi or smart connection to the mobile device of choice. In my case, I used an iPhone 14MaxPro connecting directly to the WiFi network created by Dwarf-II.
Initial tests
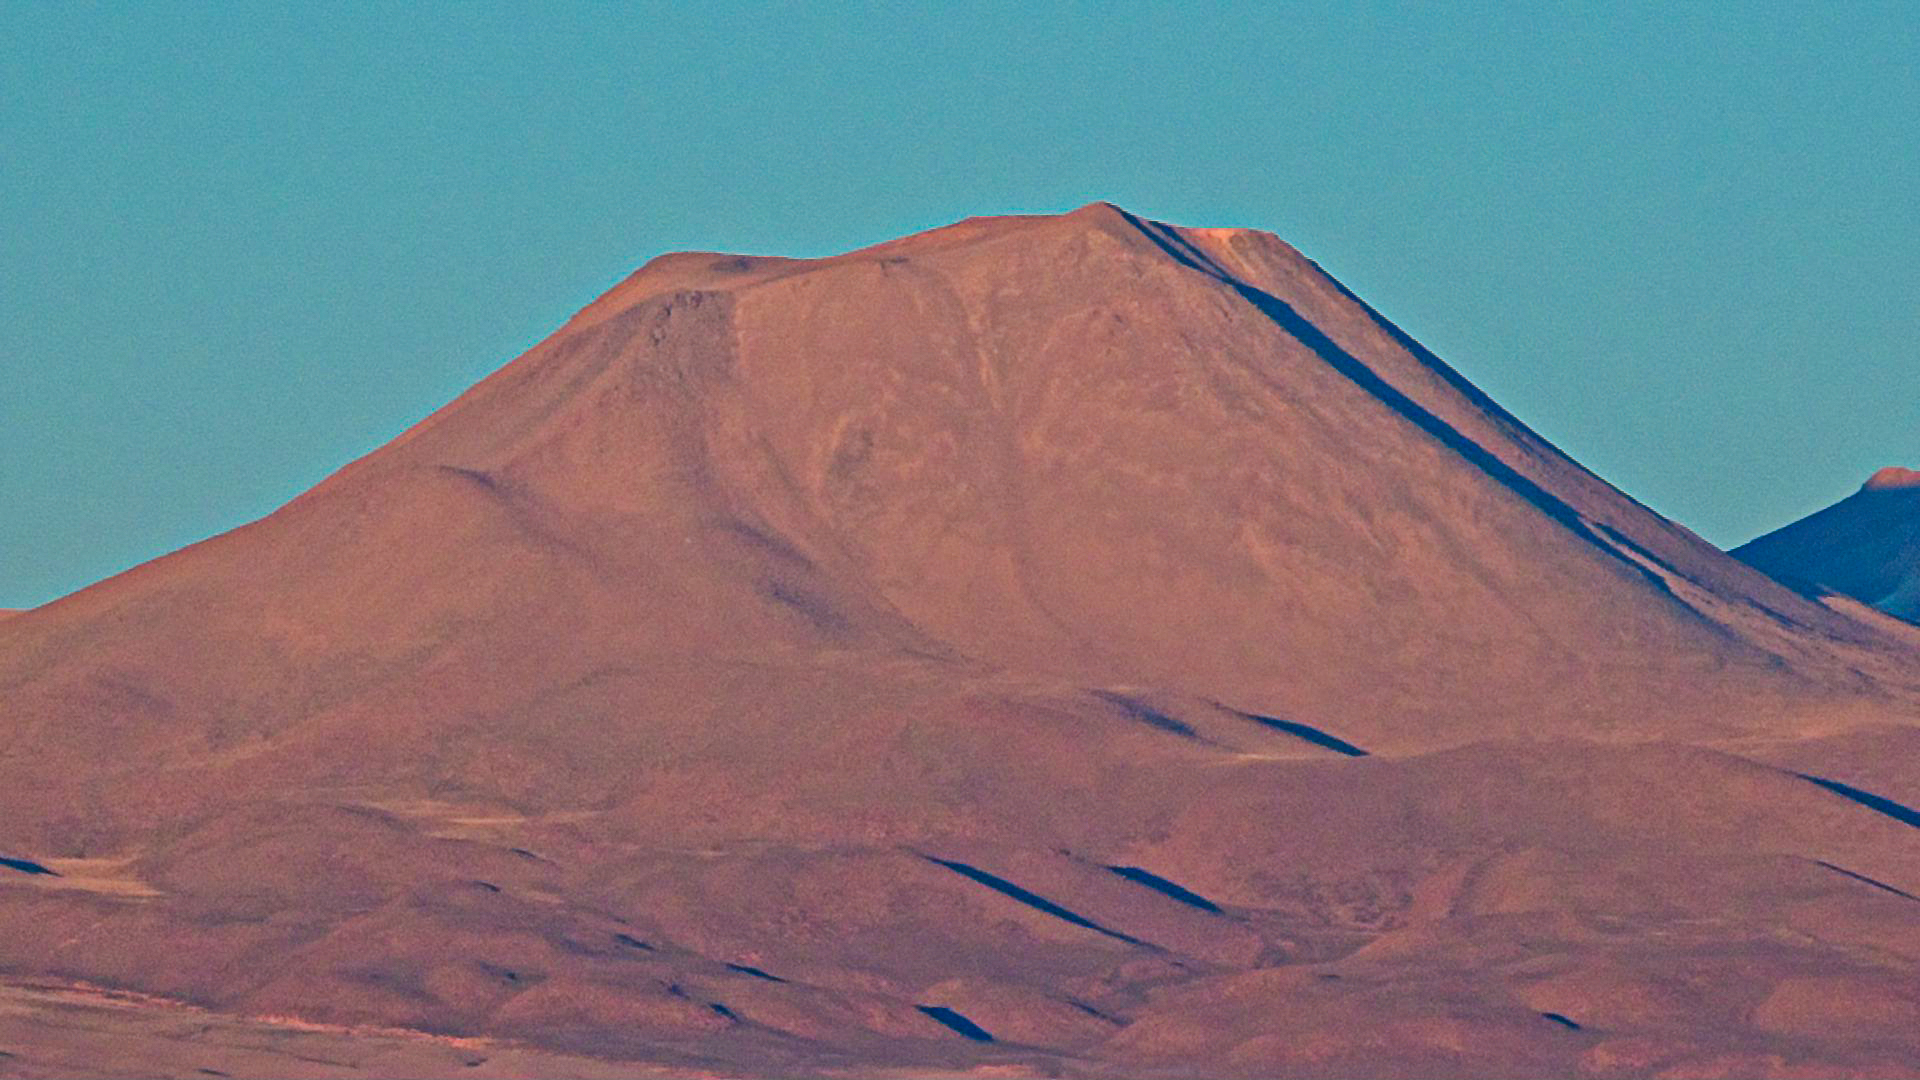
From the moment I was already connected, I simply began to navigate through all the functions in order to familiarize myself with the menu and its possibilities. Once the Dwarf-II unit is connected, it is time to start the initial calibrations which, again in this telescope, are extremely simple. Perhaps the first function I tried was simply to move the Dwarf-II via the virtual joystick, aiming at faraway objects in order to calibrate the focus. In fact, I always start with a new telescope by using it in the daytime, pointing at far away objects so that I know the controls by nightfall and be familiar with the basic functions. Focusing with the Dwarf-II was extremely easy. Initially I focused on (and photographed) distant mountains and the focal point obtained by autofocusing was an excellent starting point for at night, honing in on a bright star. The focus function offers both manual and automatic mode. Auto mode always worked satisfactorily. Once my first night of testing started, I decided to literally push Dwarf-II to its limits. After the initial calibration of the pointing model, it was ready to freely navigate the brightest and most well-known deep-sky objects. Before that, it is important to note that the initial pointing calibration routine failed on one occasion, since it requires a completely clear horizon.
Usually the pointing calibration routine takes a few seconds, during which time the Dwarf-II points in various directions and compares each image with the internal database to do the corresponding plate solving. I was absolutely impressed by how fast and efficient the algorithm was in completing this calibration. I think this point is one of the moments in which I was most impressed by this system, since it spares the inexperienced user the often slow and not always successful step of aligning the telescope so that it can simply aim at the objects we want to photograph. Great point!
First light
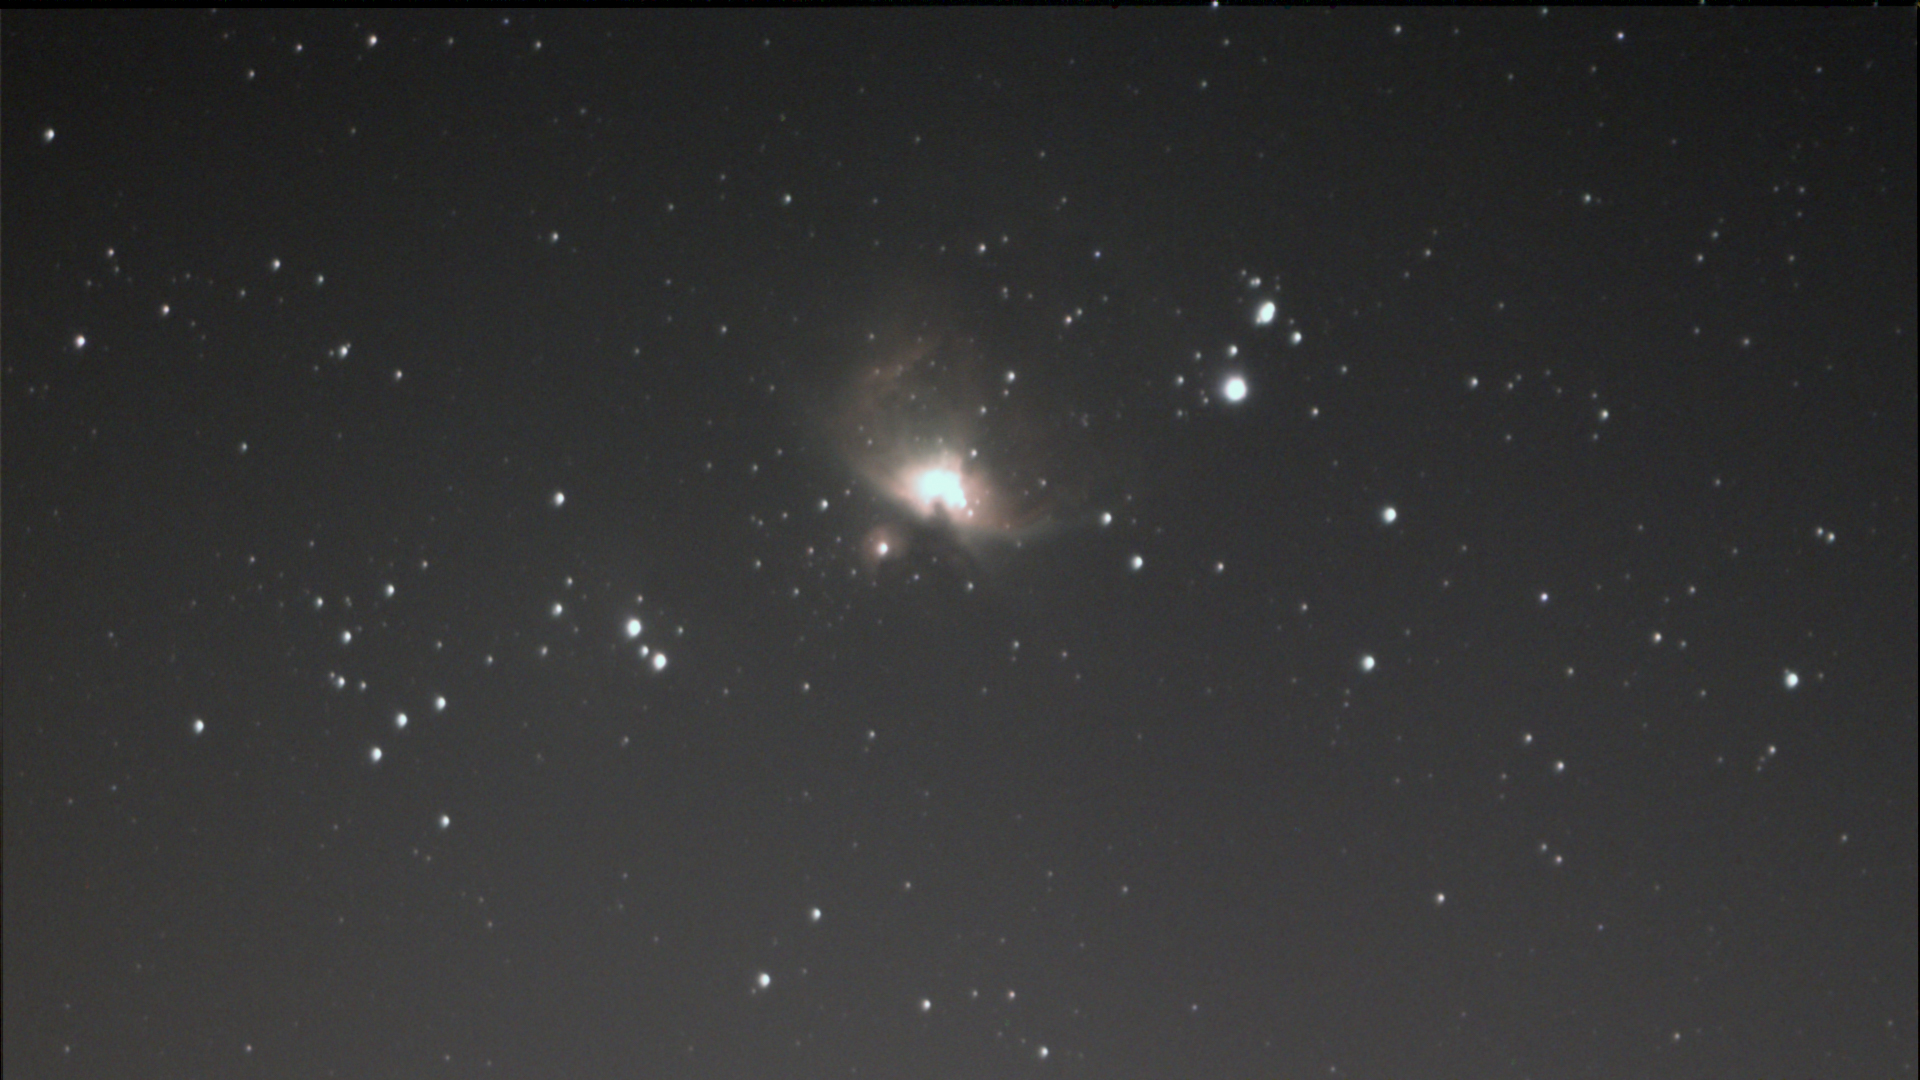
Once Dwarf-II was ready, I decided to push it to the limit to take advantage of a moonless night and with excellent transparency, the first target was the famous triplet of galaxies in Leo (M65, M66, and NGC 3628). These galaxies, located approximately 35 million light-years away, would transform in the first light of this telescope. To my tremendous surprise, and after a few seconds, the first light frames already appeared, timidly insinuating the presence of the triplet of galaxies. In view of the above, I decided to leave the telescope acquiring images for about 30 minutes. I must say that it is absolutely fascinating to witness how as the light frames accumulate, the signal to noise ratio improves and you start to see invisible details for the first few minutes. Still, a few words of caution regarding the results: This telescope, being mounted on an azimuth mount, suffers from field rotation, so as you spend a lot of time on an object, the edges of the field begin to show the effects. stacking, so in practice it is necessary to restrict the total times of the observation blocks. It is hoped that in future developments, Dwarf Lab can incorporate an equatorial mode in such a way as to avoid field rotation. Even so, and regardless of the restrictions created by the rotation of the field, the final image of Leo's hat-trick exceeded my expectations.
Accumulating more data
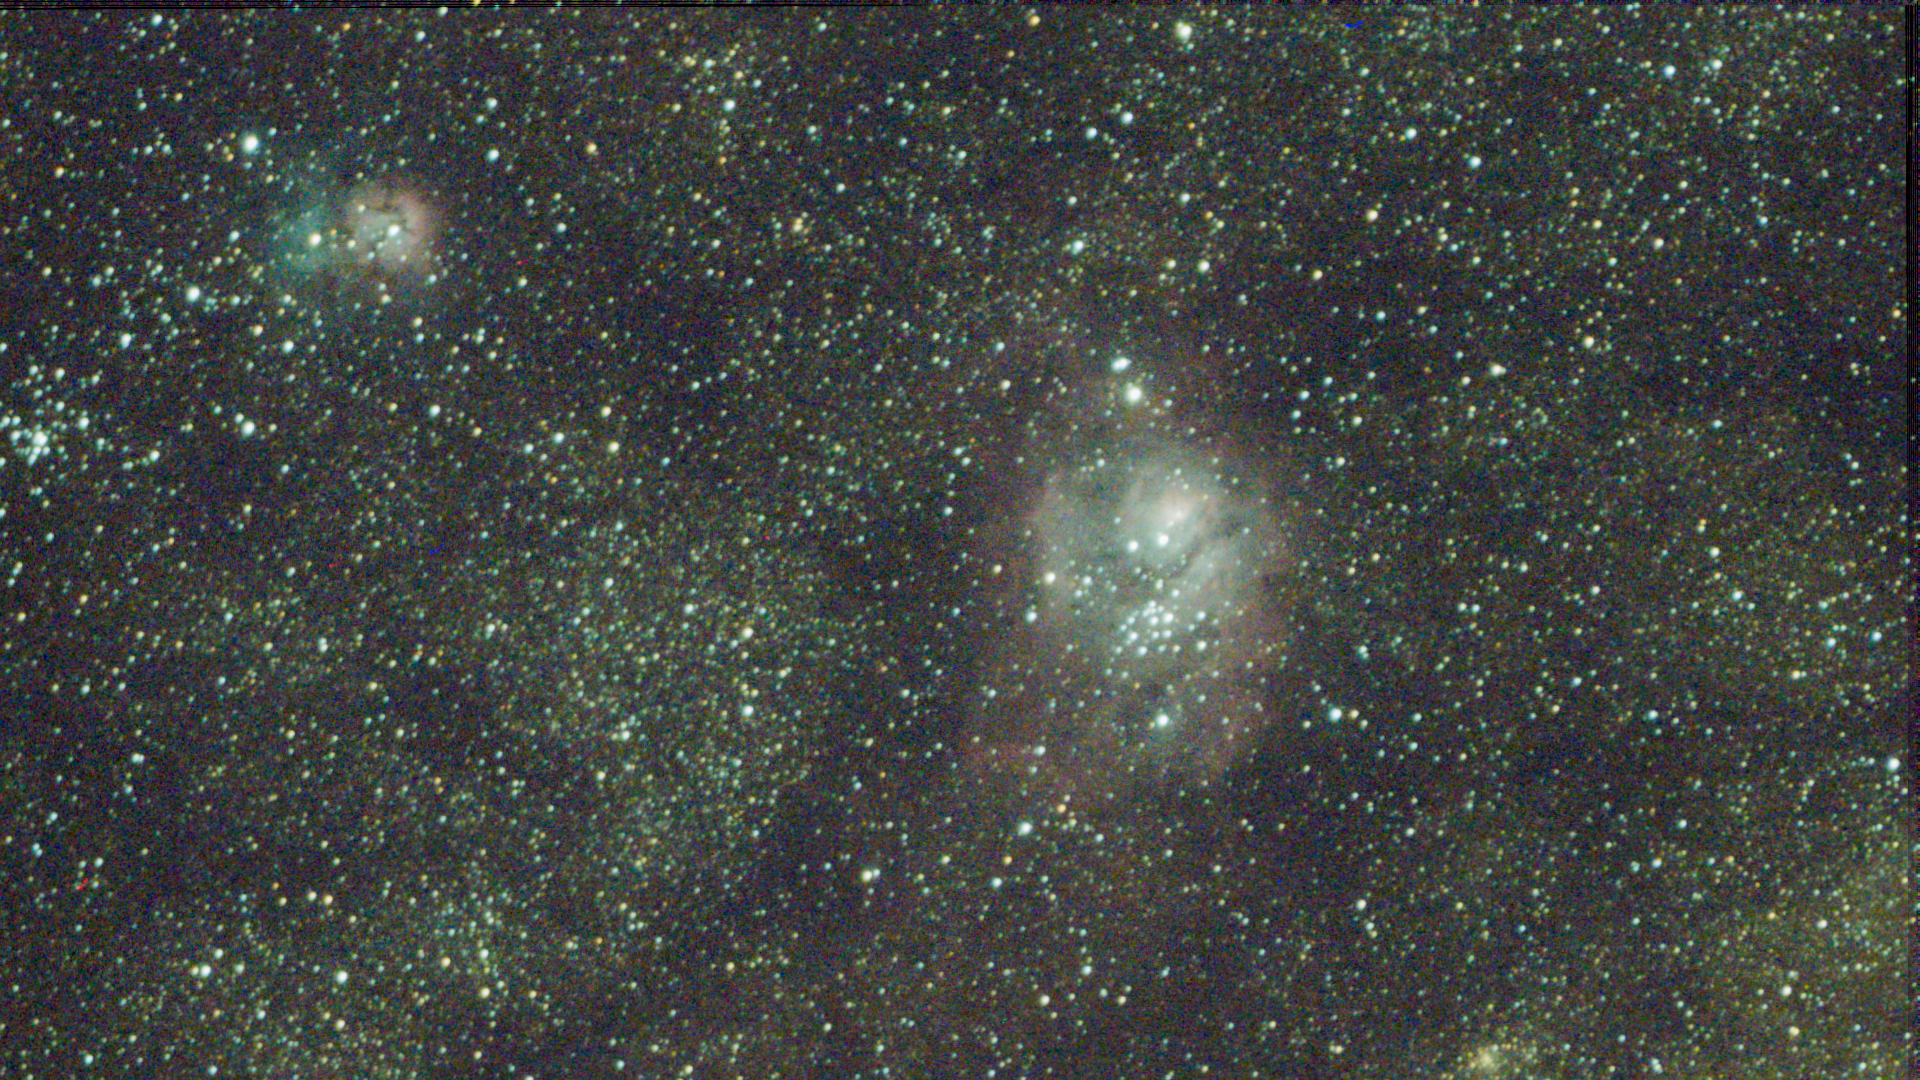
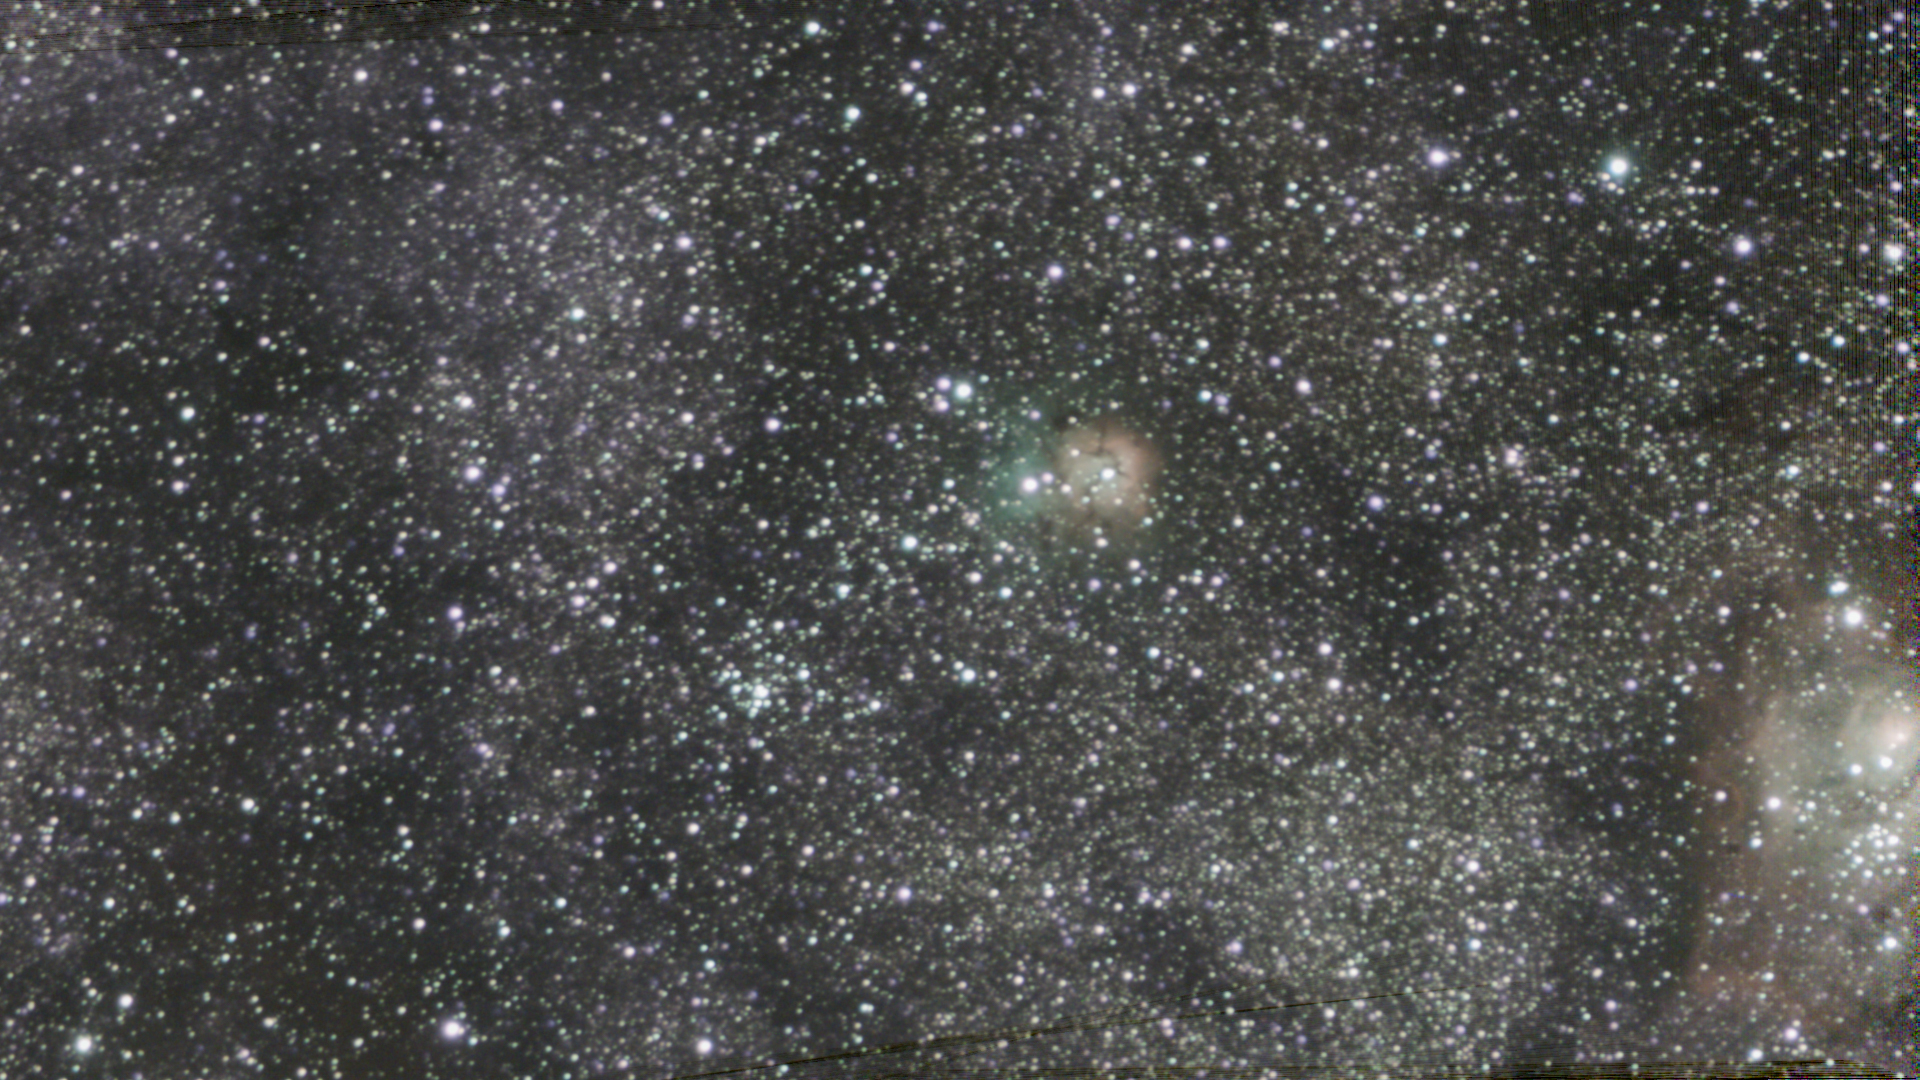
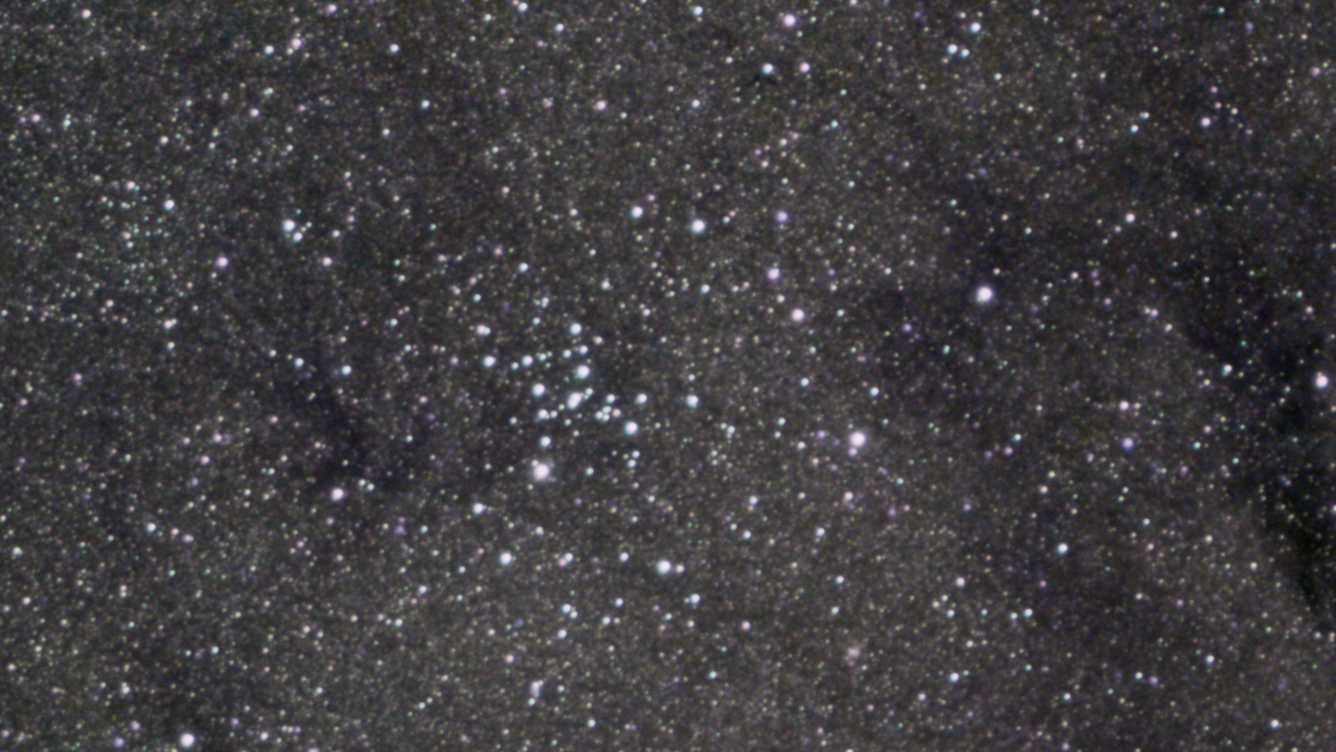
During the following nights, I continued with tests on various objects, mostly belonging to the Messier catalogue. In all of them, I got the nice feeling of getting simple images without really much effort. In this regard, it is also important to point out that, according to what I experienced, this system is aimed at the novice observer and without major demands. The telephoto lens offers a 3 degree field, which is geared towards objects farther up in the sky.
Also is important to state that the images shown in the section “Selected results” don’t have any kind of post-processing at all, with the only exception of frame cropping due to the field rotation. For a more advanced astro-photographer who’s looking for perfectly calibrated data and hours of hours of integration time, this system might not be a good choice at all.
Considerations and improvements
I am generally pleasantly impressed by this system in all its aspects and consequences. The versatility of an instrument that works day and night, allowing you to photograph and film both nature and landscapes together with the possibility of photographing deep-sky objects, makes Dwarf-II the embodiment of a wish come true, at a convenient price and with an impressive level of simplicity and portability.
I would like to take the chance to comment about some improvements based on my hours under the stars with the Dwarf-II telescope
Graphical user interface:
I think that the software should be improved in various aspects and, in particular, in the graphical interface. The basic functions are not always within reach and to get to them, you have to navigate a lot and the path is not always logical. For example, it was very difficult for me to find the functions to be able to stretch the histogram, a fundamental step in astro-photography to be able to optimally visualize the data obtained.Observing parameters:
On the other hand, the configuration of the observation parameters like integration times, gain and other important numbers are based on option lists, which did not always work nicely, specially if you are using a smart phone rather than a table, featuring a larger screen.Catalogs:
Perhaps the weakest point and which, in my opinion, deserves immediate attention is the astronomical objects selection menu, which basically offers the Messier catalog and some deep sky objects (LMC and SMC). I think it is essential to extend the database of astronomical catalogs (i.e. NGC, IC, etc) and allow input search via text instead of displaying a list of objects. Finally, the input of RA and Dec coordinates is not entirely pleasant to use.Software stability:
When using Dwarf-II with the iPhone, I experienced on several occasions that the software did not respond to commands, requiring me to restart the software from a scratch.Observing status:
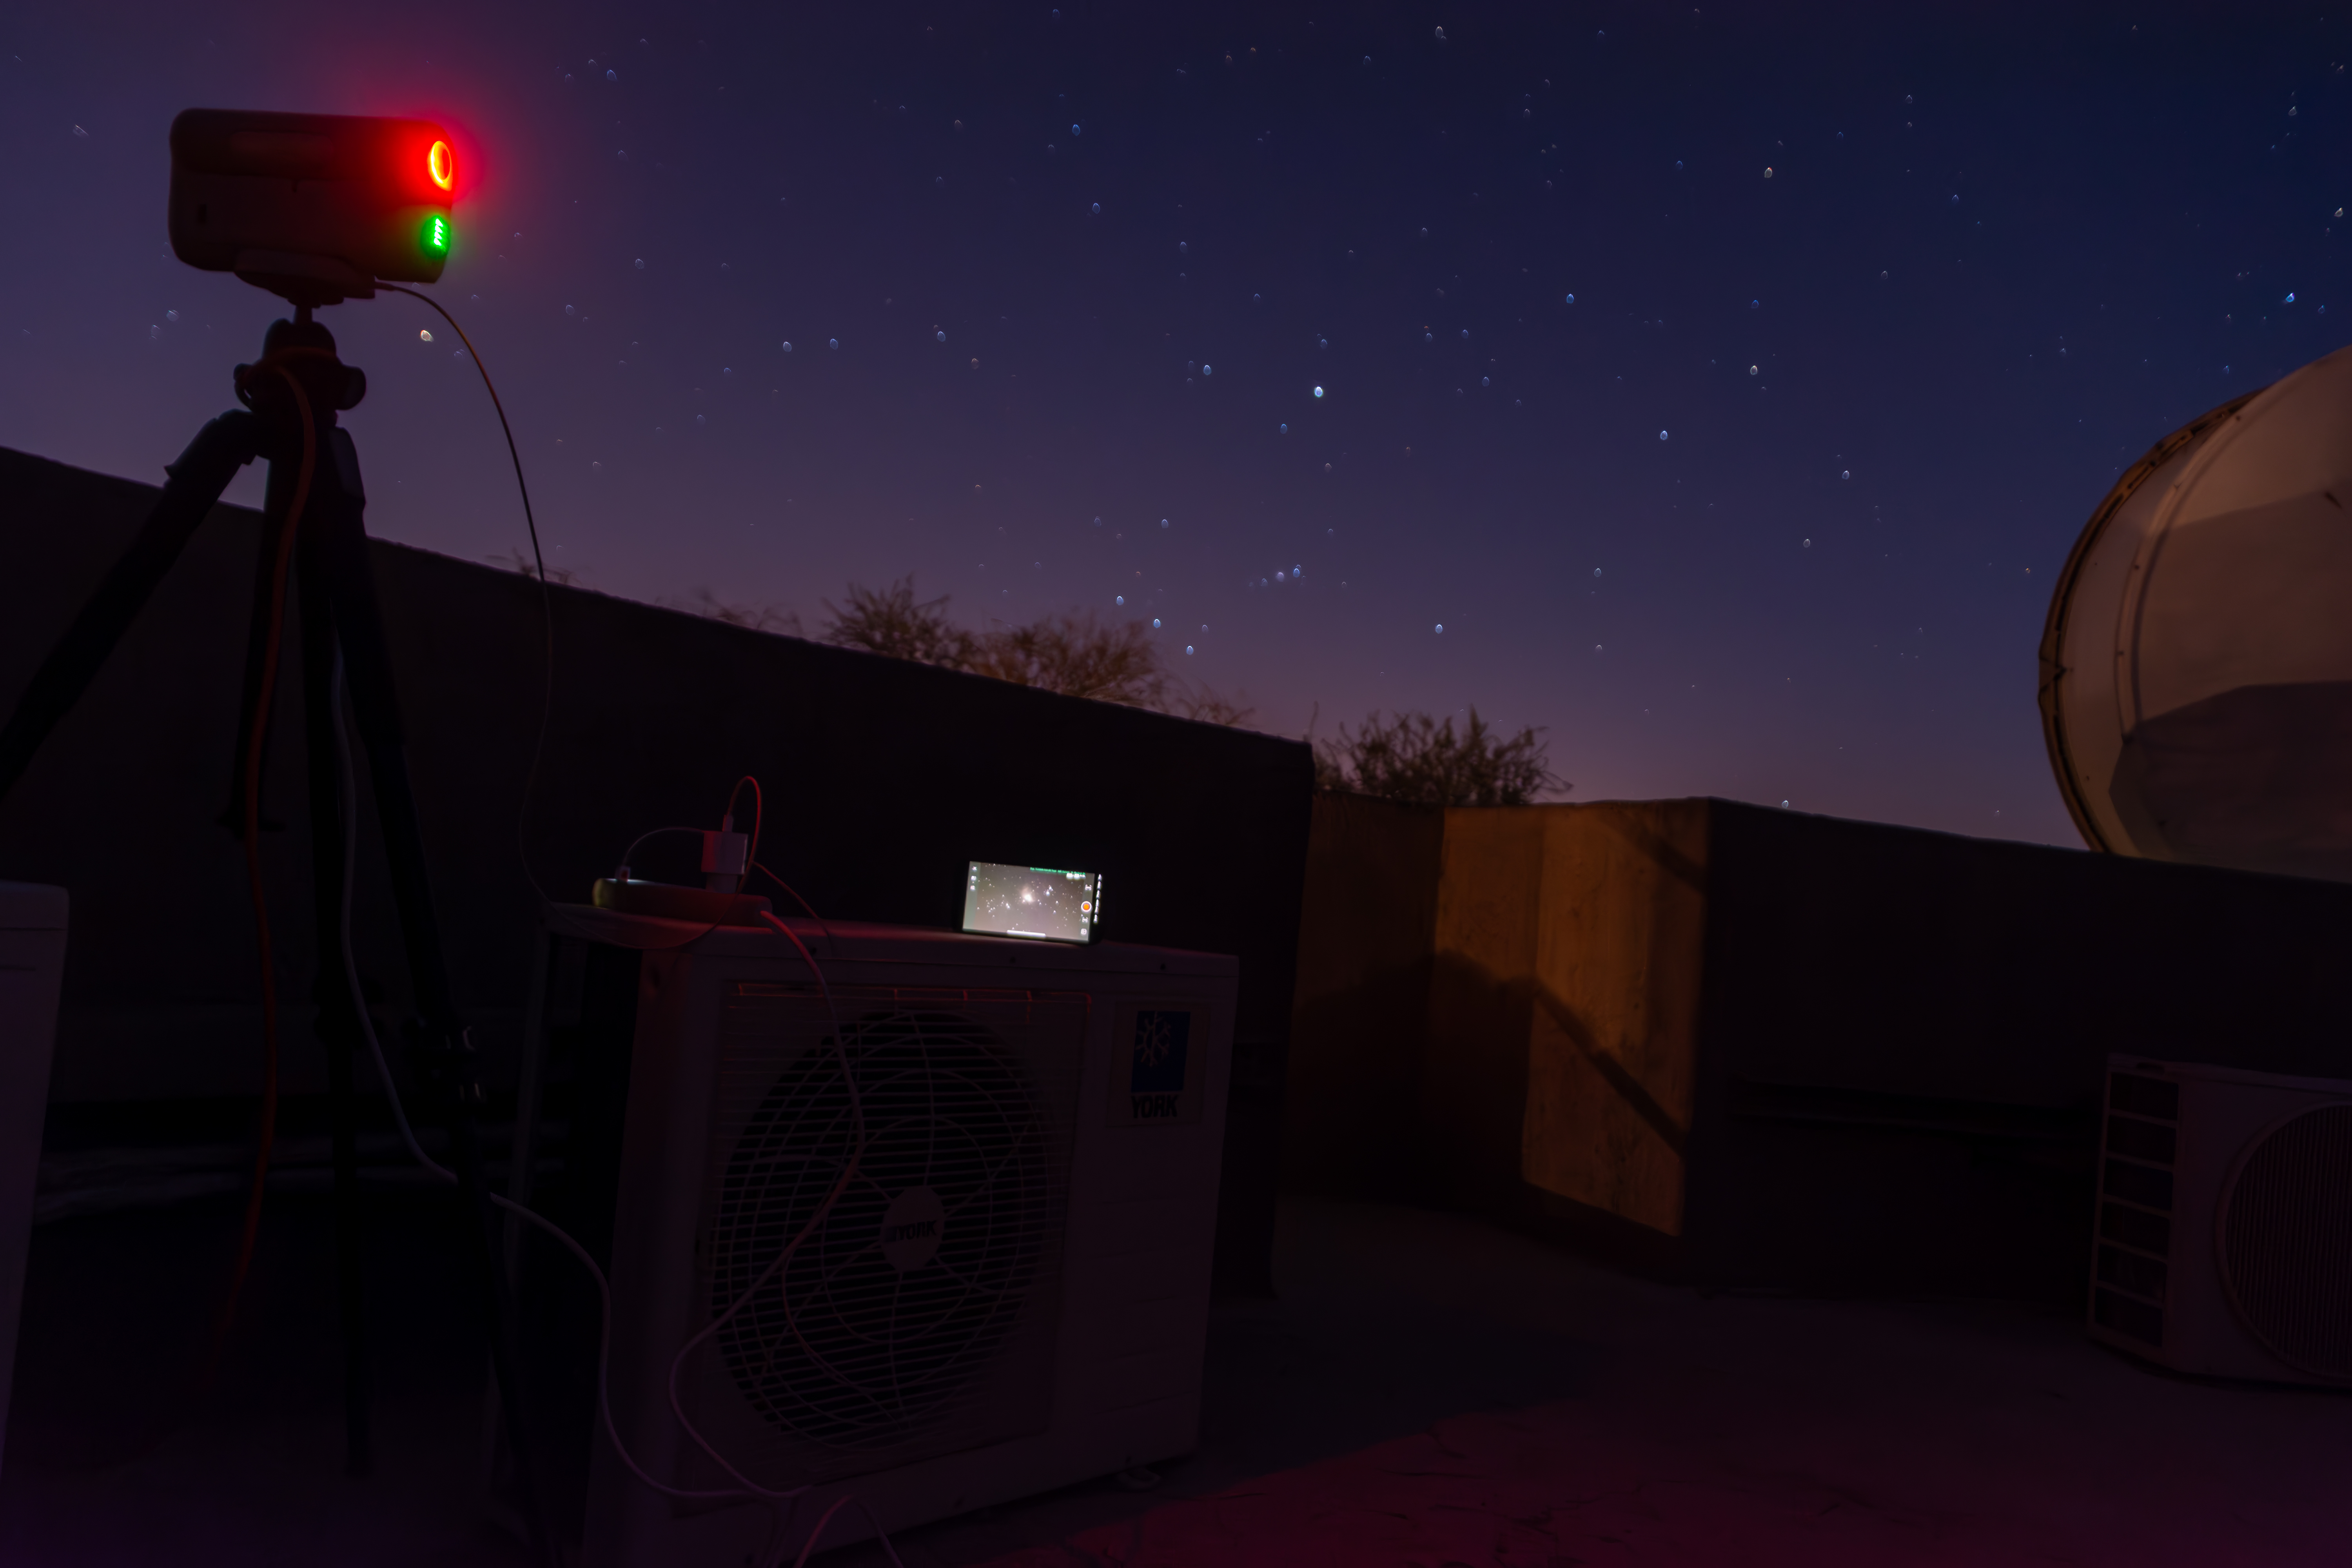
Another point to improve involves the re-design of the feedback information that the software gives to the user when it is taking data. The little green line is very hard to read and at the moment, it is almost impossible to tell if the system is acquiring data or not. I suggest larger, legible characters with detailed information on the data acquisition process.Lighting effect:
In the settings section and at least in the iPhone version, I did not find the function to permanently turn off the lighting effects. I must admit that having a device that constantly emits light violates the basic rule of darkness that is essential when observing and doing astrophotography. In fact, during one of the nights I could not use the Dwarf-II because I was accompanied by other astrophotographers who were bothered by the lights generated by Dwarf II. I was too!
Selected results